My ‘95 Jeep Cherokee has been neglected for years. It was the first car I've purchased from my Aunt in 2005. I've done so many thing in that car, it really feels more like a family member or at least the family dog than a car. After years of trail rides, firewood hauls, dump runs and general messing around the rear driveshaft U-joints have started to show their age. It probably also didn't help that one time that I drove on the highway for over 5 miles locked in 4 high with front and rear lockers locked. Whatever the cause my jeep started to virbrate loadly when driving home from a family camping trip last July. I new exactly what it was as soon as I heard and felt the vibrations. My U-Joint had completely failed and we had to get home fully loaded, 2 kids, wife, dog and trailer, on just the 2 two front wheels. She has sat ever since but with winter coming its times to get her fully operational so I can start to make those firewood hauls — Time to roll up the sleeves.
Step 1: Wrestling Out the Old U-Joint
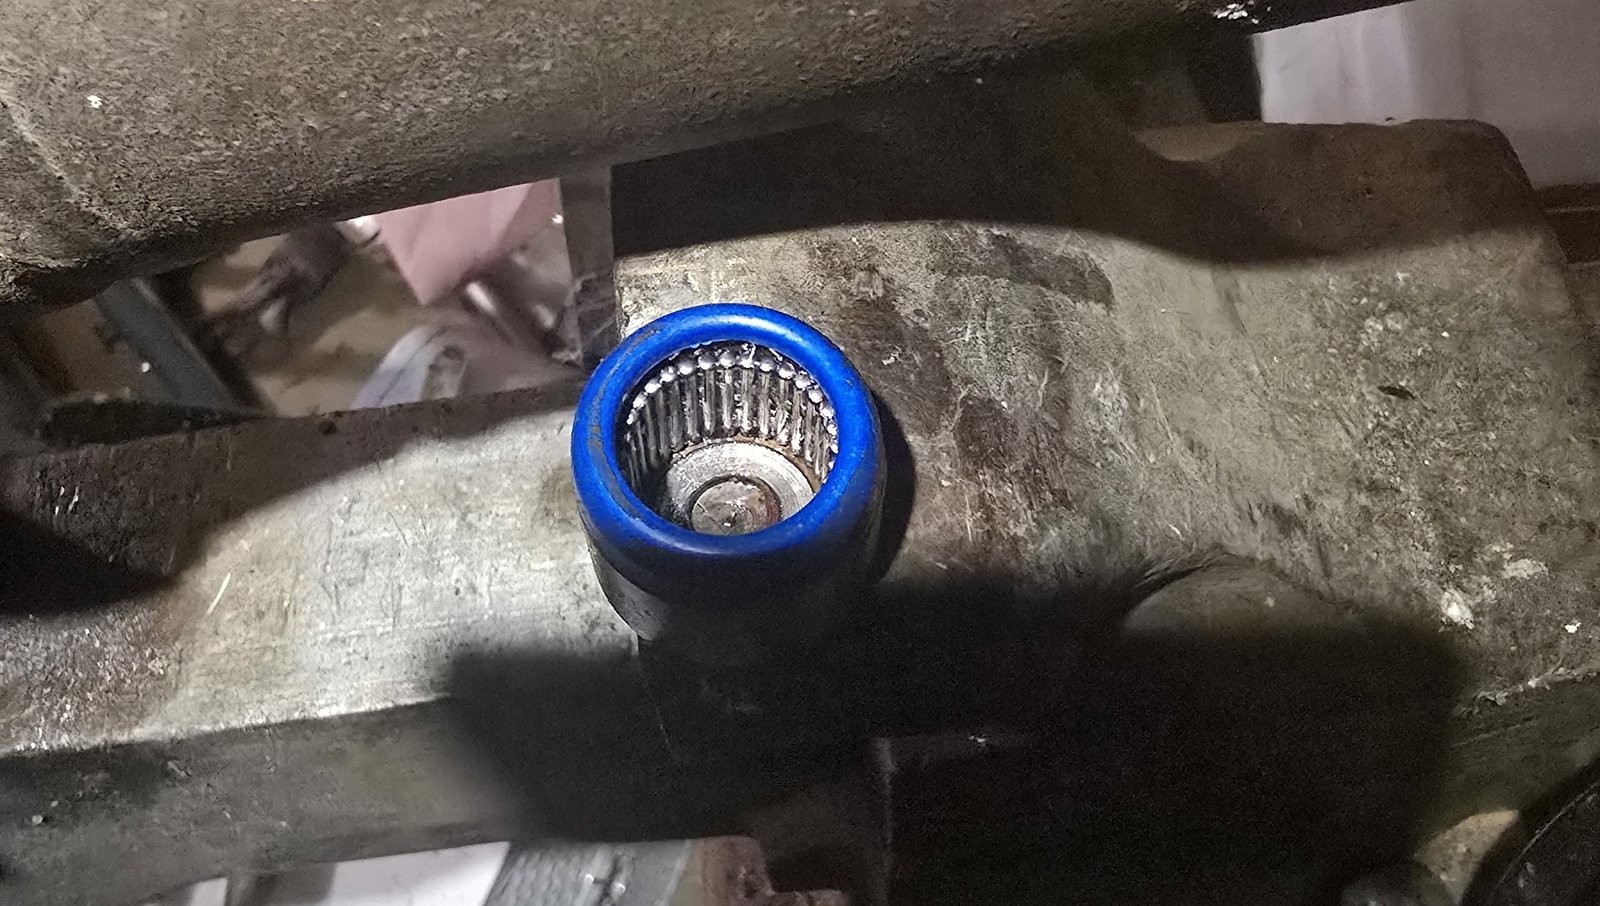
With the drive shaft already removed during our little road misshap, the first step in the process of replacing a U-Joint is to remove the old one: The auto-parts shops will loan you a specific press tool to remove the U-Joint but I've unless you need to press a joint out from under the car I have found a benchvice to be a far better too for the job. Using a 16mm socket on one side and a 36mm socket on the other I was able to press the U-Joint cap out on hte 36mm socket side. Putting the exposed cap in the bench vice with a little penetrating oil I was able to wiggle the cap out the rest of the way. Repeating the process on the other side I then was about to wiggle out the U-Joint center.

Step 2: Prep for install
The first thing we need to so is to clean the bores with emery cloth until shiny. This will make installing the new U-Joint much easier. You can use a pick or knife endge to clean out the snap ring groove. Grease the new caps and get ready to install.
Step 3: Pressing on the U-Joint Caps
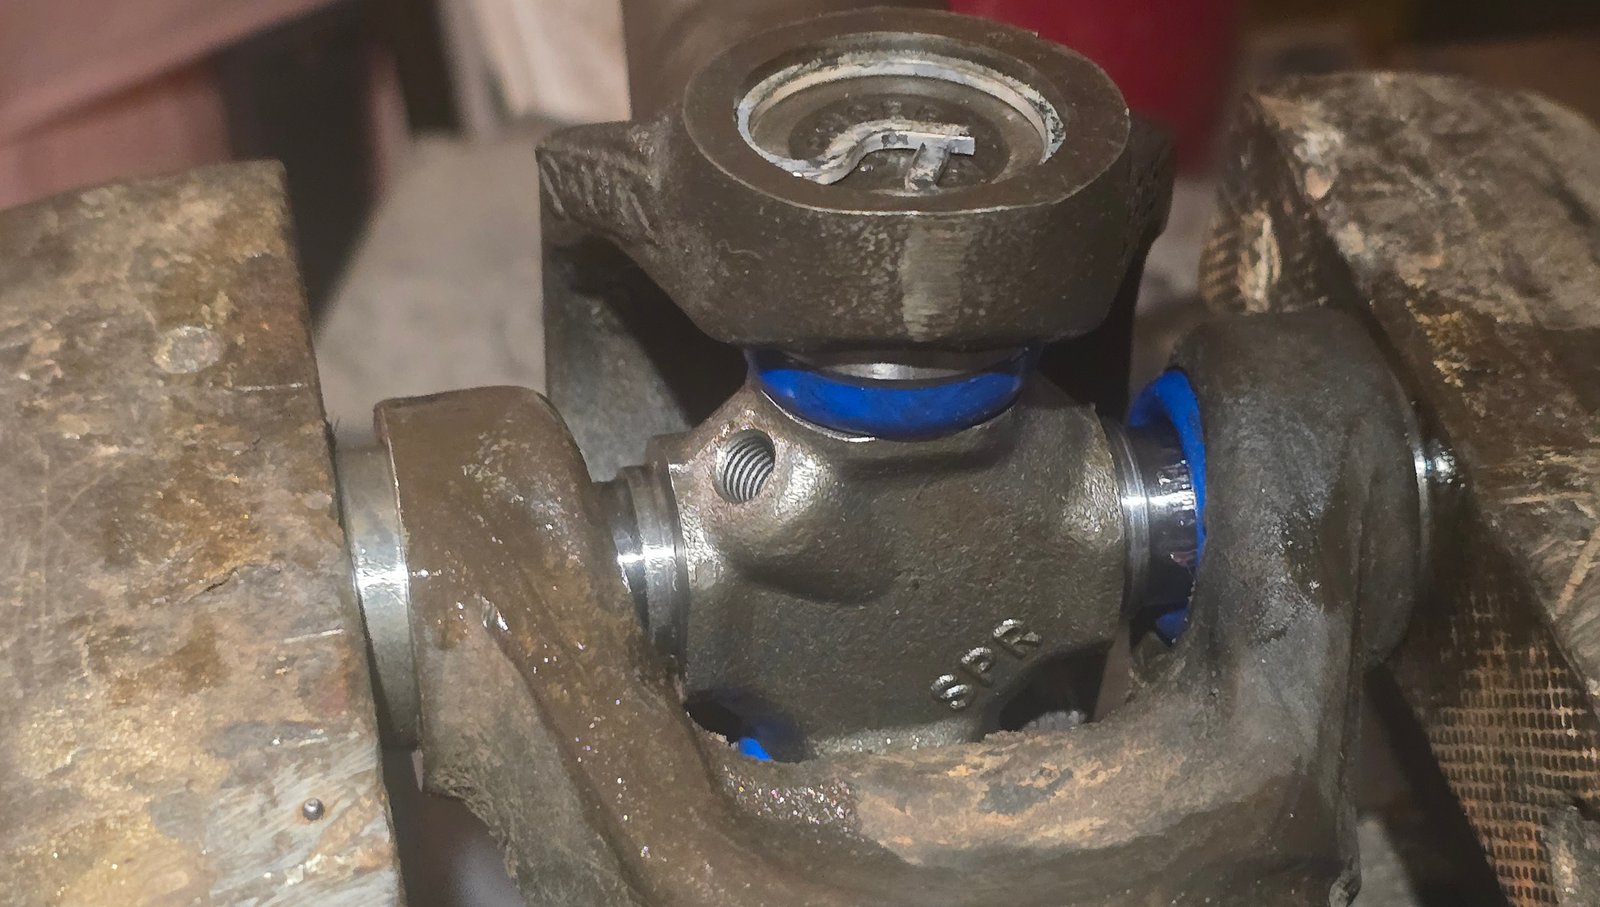
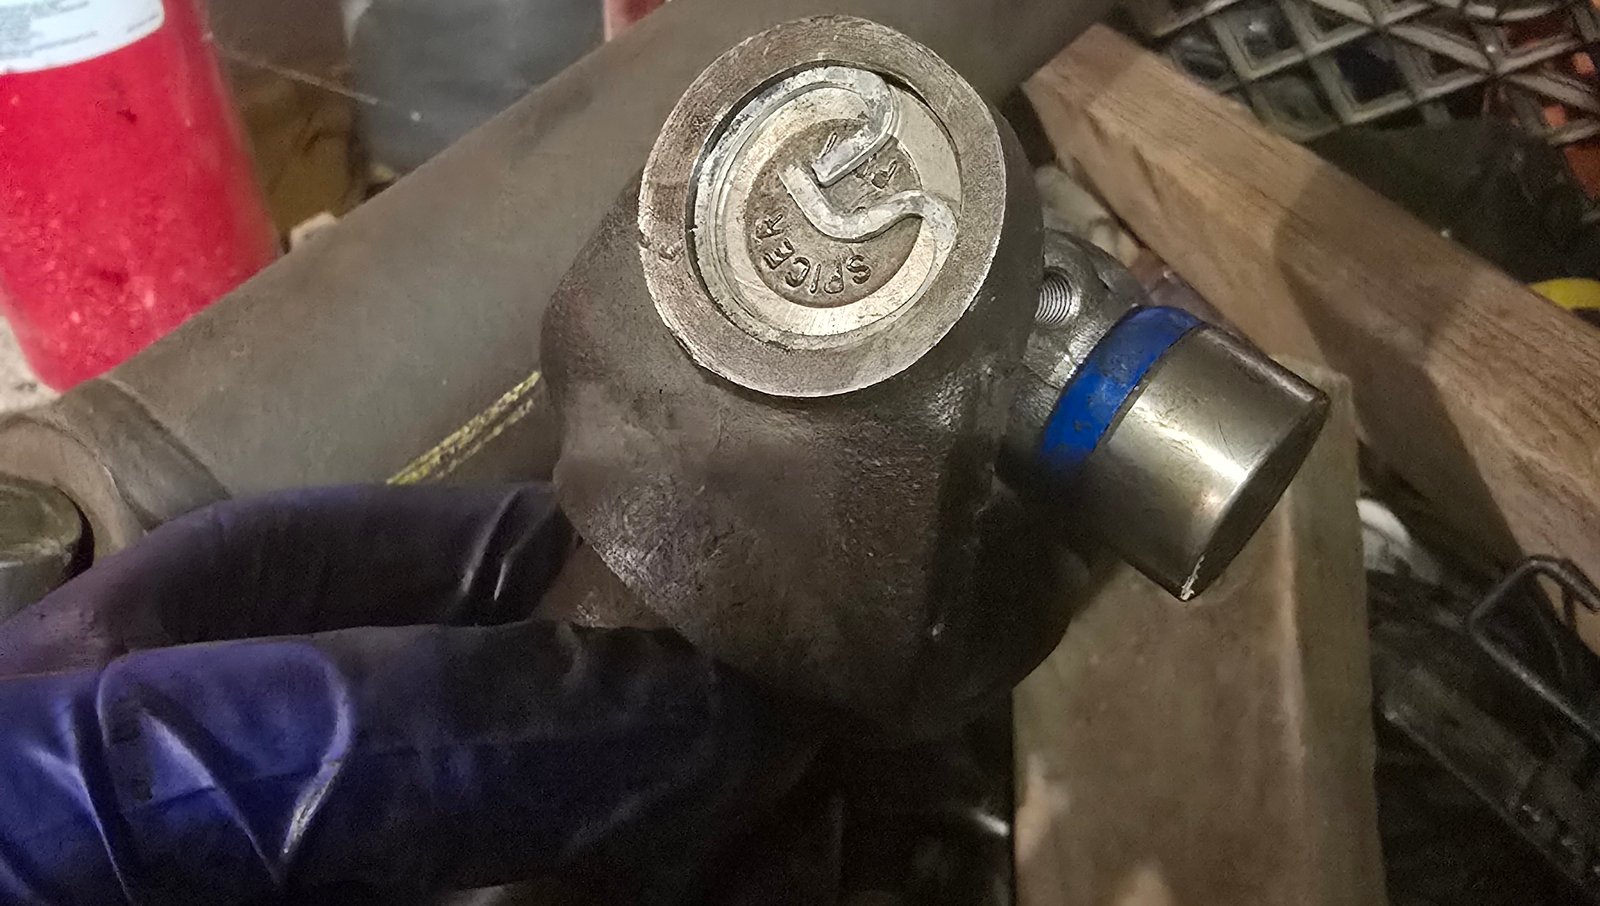
With the U-Joint caps greased and removed can now install the U-Joint center in the yoke. Now insert each cap carefully — no dropping needle bearings. Once the caps are pressed in by hand press them in using the bench press until they are both flush with the snap ring groove.
Step 4: Installing the Sanp Rings
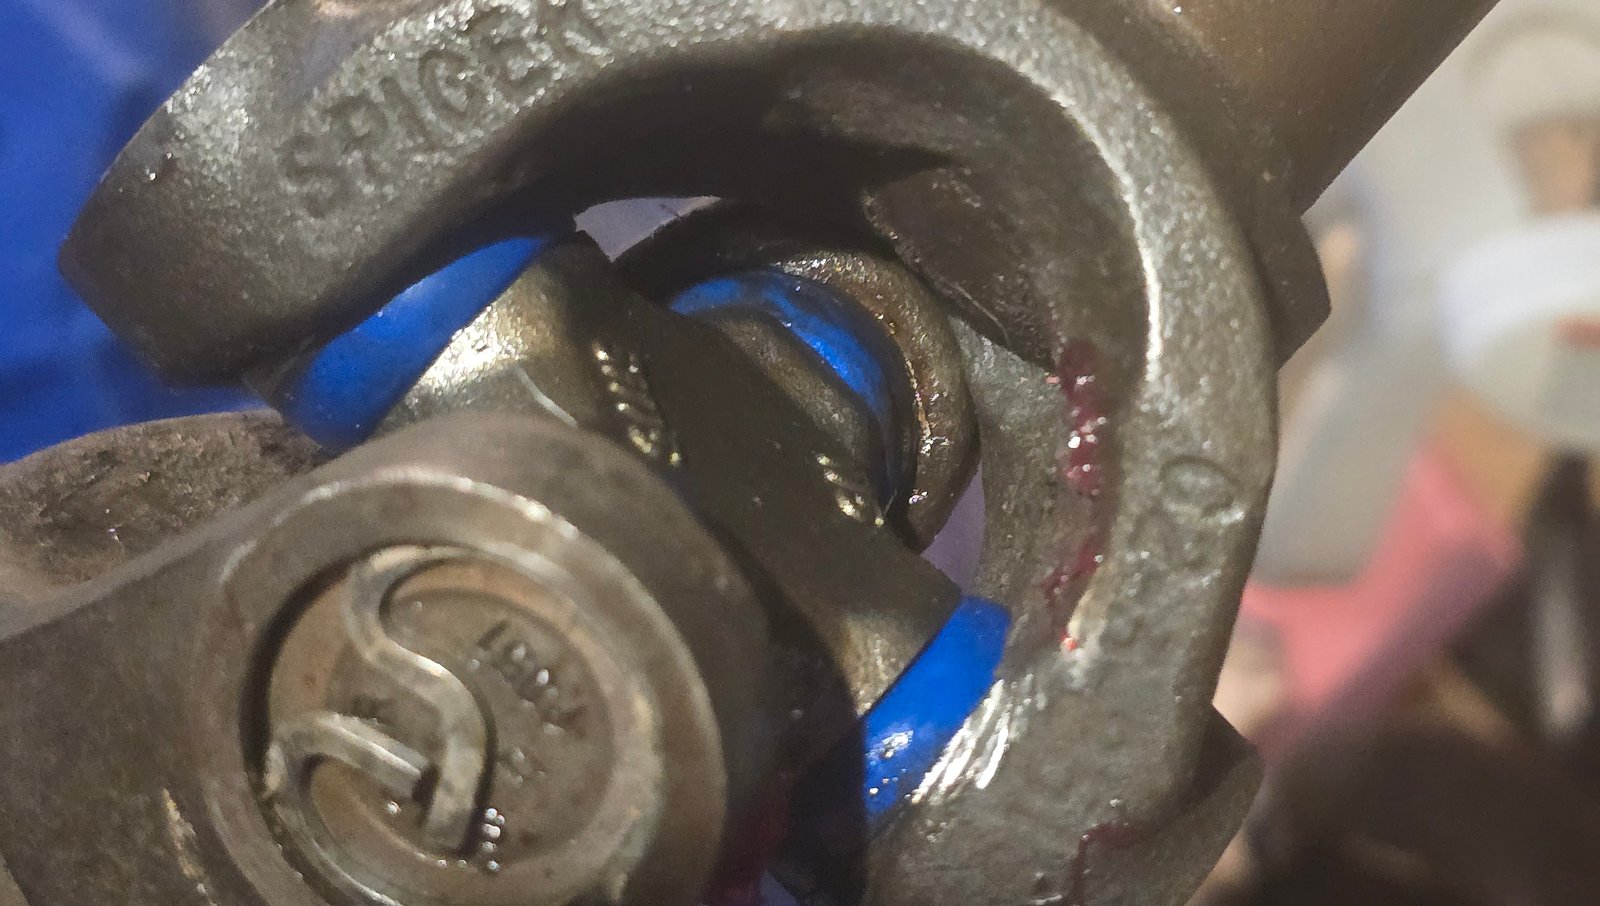
With the caps fully seated into the yoke we can install the snap rings. They sell specific pliers for this tasks but a regular pair of needle nose pliers is often more than capable of getting job done. Collaps the snap ring with the pliers insert it and release. Ensure the ring is fully seated in the groove. Sometimes spilling the ring with the pliers can help get it to pop it.
Step 5: Completing the other side.
With one yoke fully attached to the new U-Joint it is time to install the U-Joint into the other yoke. Complete the above steps for the other yoke. Once finihed install the zerk fitting into the U-Joint and grease the U-Joint until you can see grease starting to pushout. As a final step to release any tension left by pressing in the U-Joints with mechanical force give the each side of each yoke a few good smacks with a hammer.
Changing a U-joint isn’t glamorous. It’s messy, occasionally frustrating, and your knuckles will probably donate blood to the cause. But when it’s done right, you get that deeply satisfying moment where a vehicle older than some of your coworkers runs like new again. Worth it.